THEHOOKBLOG
Coffee Fuelled Thoughts, Stories and Ideas
Recipe: Iced Pourover Coffee

When you think of a nice, chilled coffee, I bet a pourover wasn't the first thing that popped up in your head – it probably would have been a cold brew, or something along the lines of an iced café au lait. Don't get me wrong, I do enjoy those coffees – cold brews are great: they taste of everything that is objectively pleasant, and they're super easy to drink. The only issue is that a cold brew takes a lot of time, and because of the absence of heat in the extraction, a bunch of nuance is lost. Iced café au laits are really nice as well – it's pretty hard to say no to coffee hit with a bit of milk, for that sweet and creamy kick. Then again, what if you wanted something sweet, but not creamy?
In search of an answer, we started digging. Being huge coffee nerds, we chanced upon an awesome recipe by James Hoffman, and we knew that we had to tinker with it! So here's where our iced pourover comes into the picture: we're talking about brewing a cold coffee that is both sweet and light, in the same amount of time it takes to brew a pourover. Yes, 3 minutes is all you need for this!
Before we start, the most important thing to keep in mind is that this recipe is a guideline. Not all ice is made equal, your ground coffee might be coarser or finer depending on your grinder, and your flow rate is dependent on your kettle and your technique – these are some variables to take note of moving forward!
Step 1: Choose and Measure Your Coffee
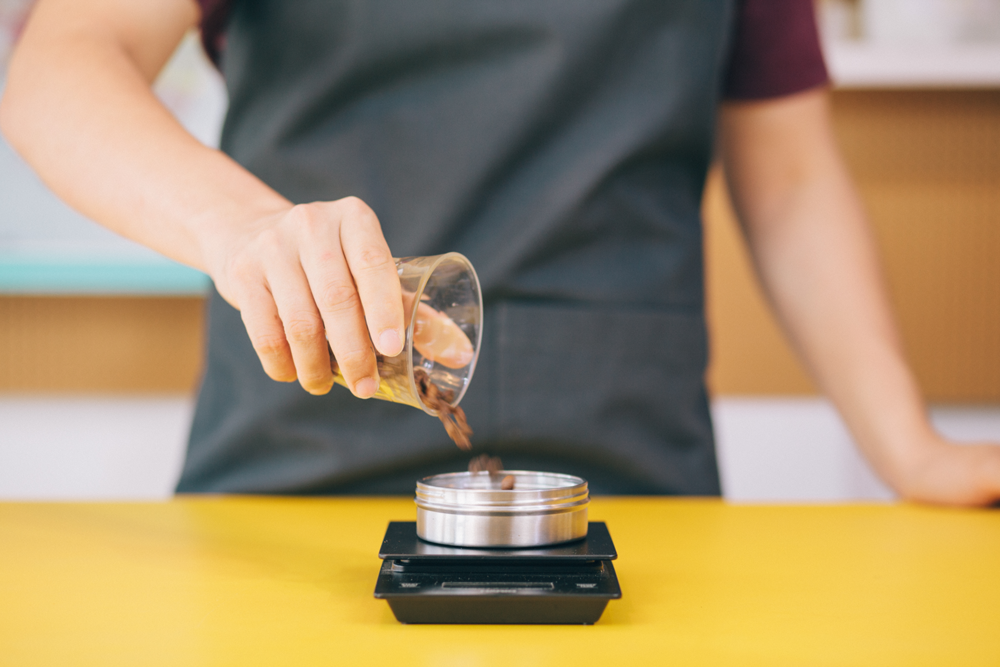
Today, we decided to run with one of our favourites, Cherry Bomb. The selling point of an iced pourover is a sweet, clean, and refreshing cup – a coffee that is naturally sweet like Cherry Bomb is the perfect candidate! This recipe calls for a 17g dose – take note!
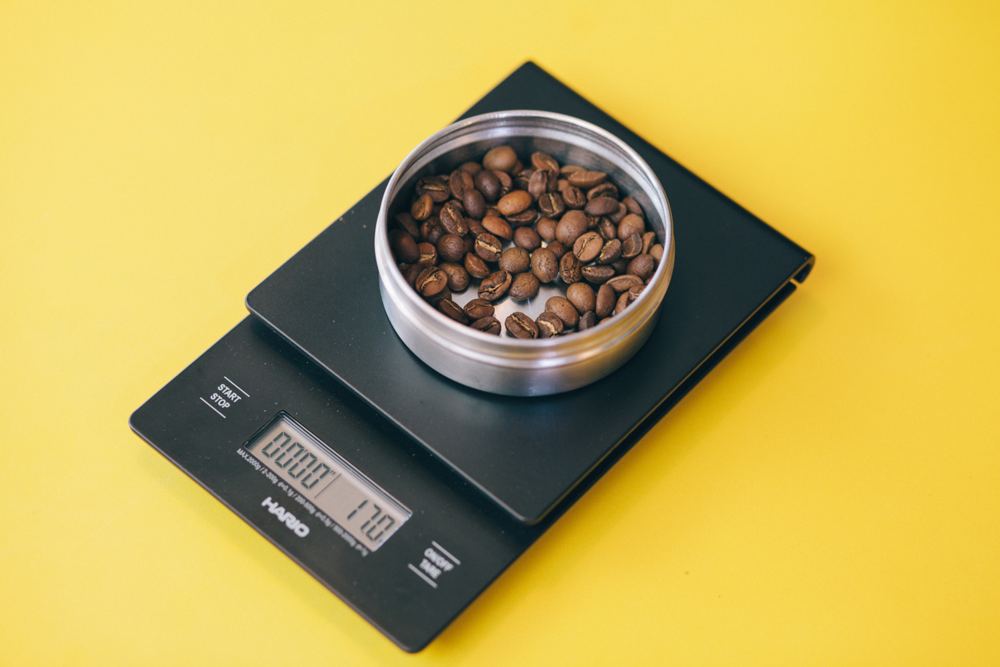
A 17g dose, ready to be ground for drip!
Step 2: Grind Your Coffee
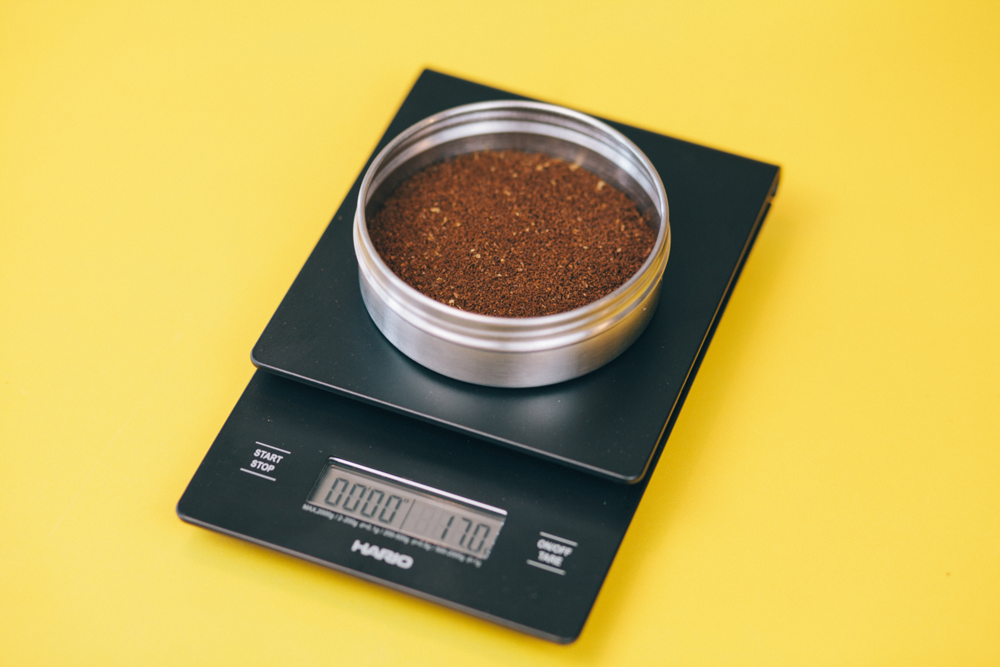
Here's where the first complication, though not a big one, comes into play – every burr grinder is different. If you're getting ground coffee from us, this is a non-issue for you! If you're a little more adventurous and you've got your own grinder, you might have to tweak your settings. There is no right or wrong here, the goal is simply to avoid grounds that are too fine or too coarse – coffee that is too fine will take a longer time to brew, vice versa for coffee that is too coarse.
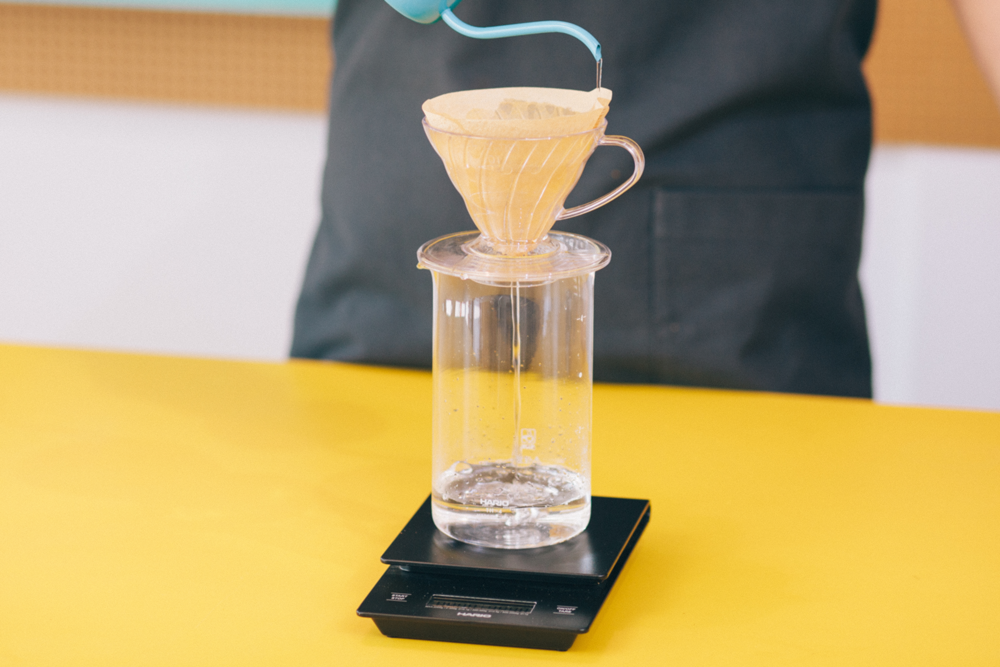
Step 3: Rinse Your Filter
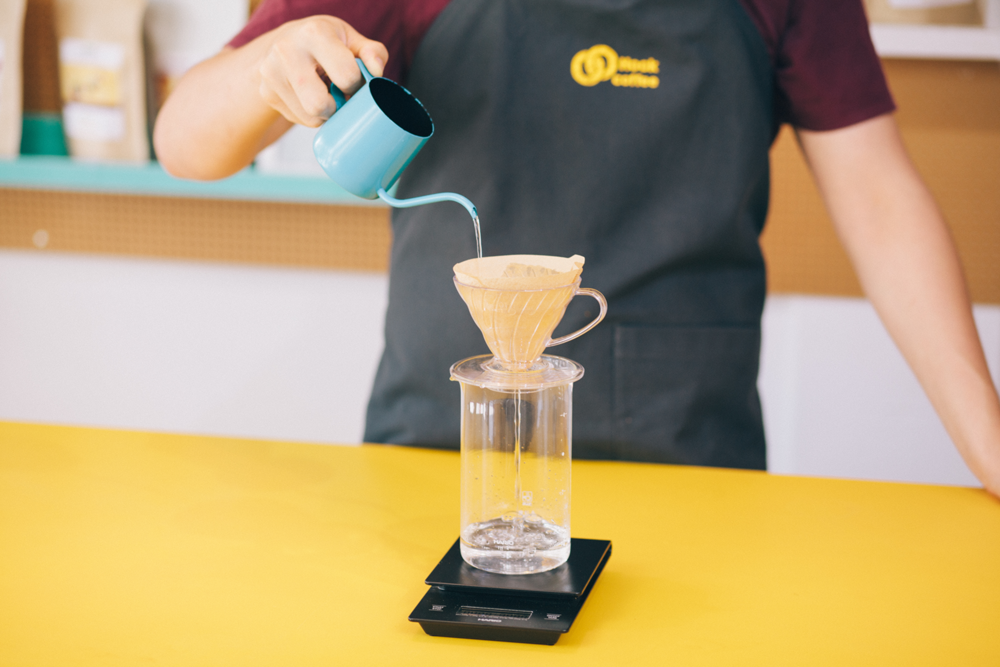
Here's where things deviate a little. As this is an iced brew, rinse your filter with tap water to avoid pre-warming your grounds. Don't worry, there is no pronounced filter paper taste just because we didn't rinse with water that's off the boil, but feel free to do so regardless – just be sure to cool it down under a running tap for a few seconds!
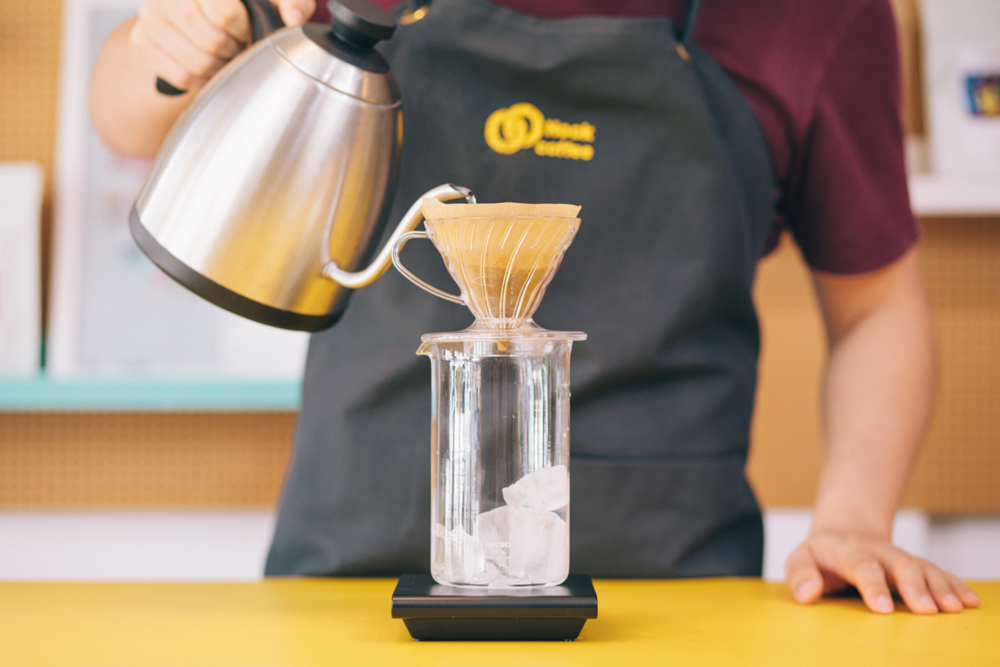
Step 4: Time to Brew!
For 17g of coffee, we'll be brewing with 262g of water – a ratio of 1:15.4. Your brew water is further divided by a ratio of 3:7 – 3 parts ice (79g) to 7 parts off-the-boil brew water (183g).
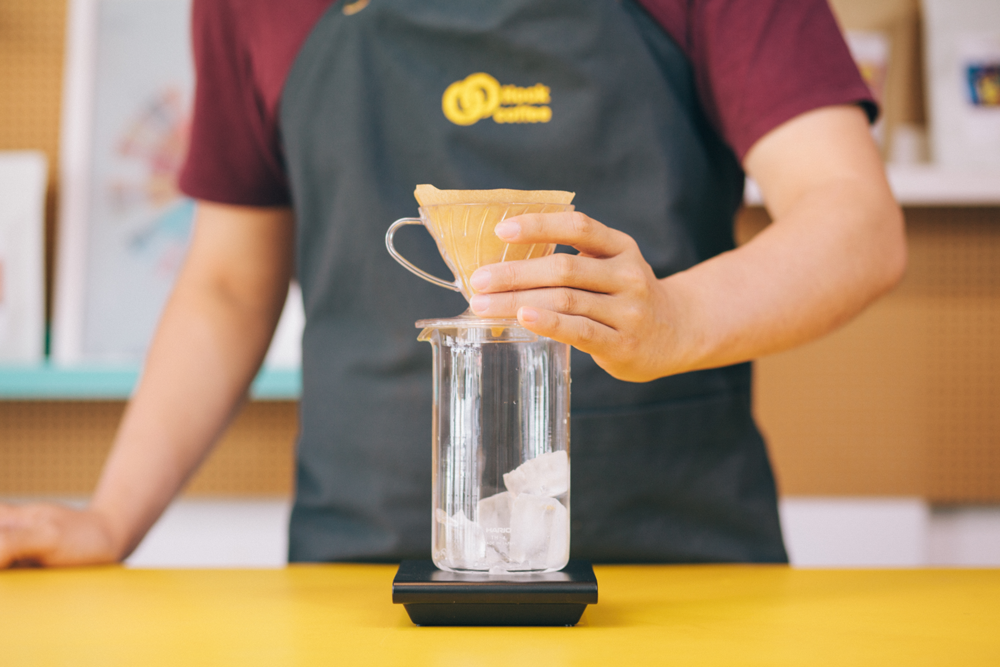
Set your vessel on your scale and tare it! As best you can, place 79g of ice cubes in your vessel. Again, the recipe is a guideline – don't sweat it if you're between 77g to 80g – you're all good. Just don't let the portions deviate too much!
Nothing beats hitting that 79g mark – soooo satisfying!
Set your V60 atop your vessel and tare it. Next, fill your V60 with your ground coffee. We've tared our scale, so now's a good time to check if your dose is over or under the 17g mark – make adjustments where necessary! Checkpoint: with ice in your vessel and coffee in your V60, your scale should be at 0g.
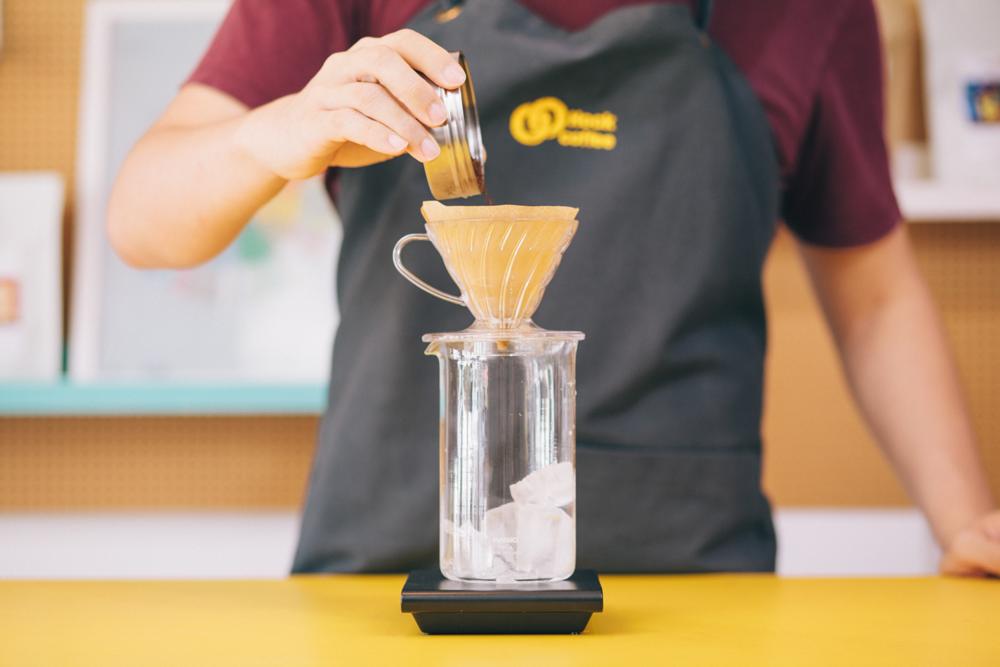
With your off-the-boil water at the ready, start the timer and brew away! We'll begin with a 51g bloom, three times the mass of the dose, for 45s. Blooming allows your coffee to degas, releasing carbon dioxide and allowing for an uninterrupted, even extraction as you pour your brew water.
Oh, and don't forget to pour in a circular motion, covering all your grounds evenly!
This recipe calls for a bloom with 3 times the mass of your dose – a gentle reminder!
The next few pours are divided into stages of four – systematic and simple! Remember to factor out the water used to bloom (i.e. 183g - 51g = 132g). At a glance, this is what we've got:
• Pour 1: Pour 33g of brew water. Wait 30s. Total amount of hot brew water = 84g
• Pour 2: Pour 33g of brew water. Wait 30s. Total amount of hot brew water = 117g
• Pour 3: Pour 33g of brew water. Wait 30s. Total amount of hot brew water = 150g
• Pour 4: Pour 33g of brew water. Wait 30s. Total amount of hot brew water = 183g
Put simply, we pour in stages to ensure an even, gradual extraction. We prefer a coffee with a little more character, and we found that this is the best way to achieve such a result. Pouring slowly but continously results in an extraction that is a tad too fast; waiting for an interval past 30 seconds results in an extraction that takes a little too long. That being said, feel free to experiment and have fun!
BONUS: feel free to lift your V60 from your vessel to give it a gentle swirl and tap as you place it back atop your vessel. This is known as agitation – it's to ensure that your brew water comes into contact with every particle of ground coffee for the sake of an even extraction.
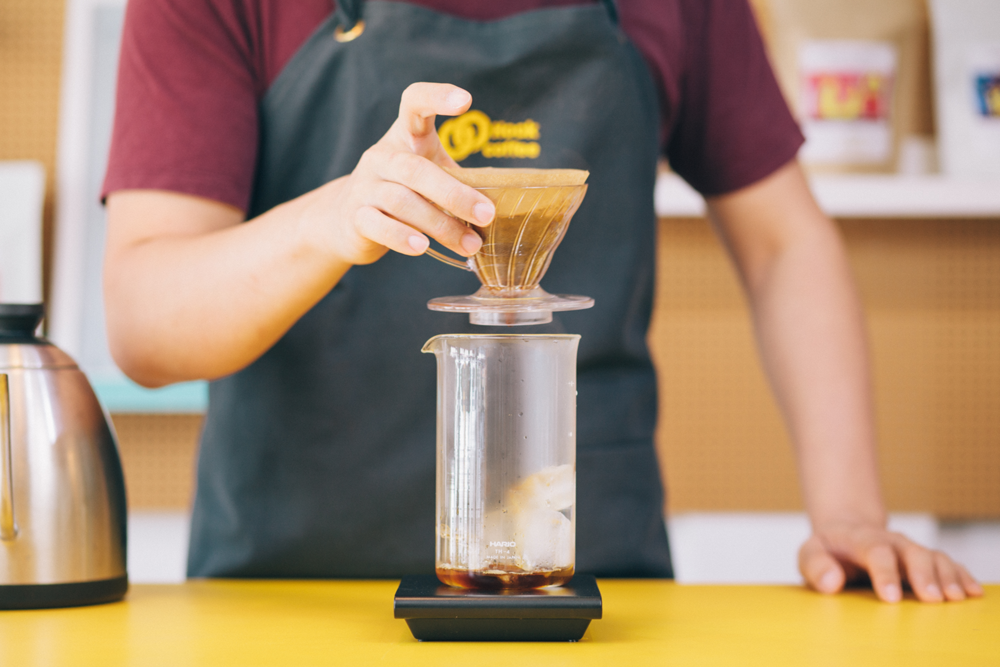
Just a gentle swirl and tap goes a long way!
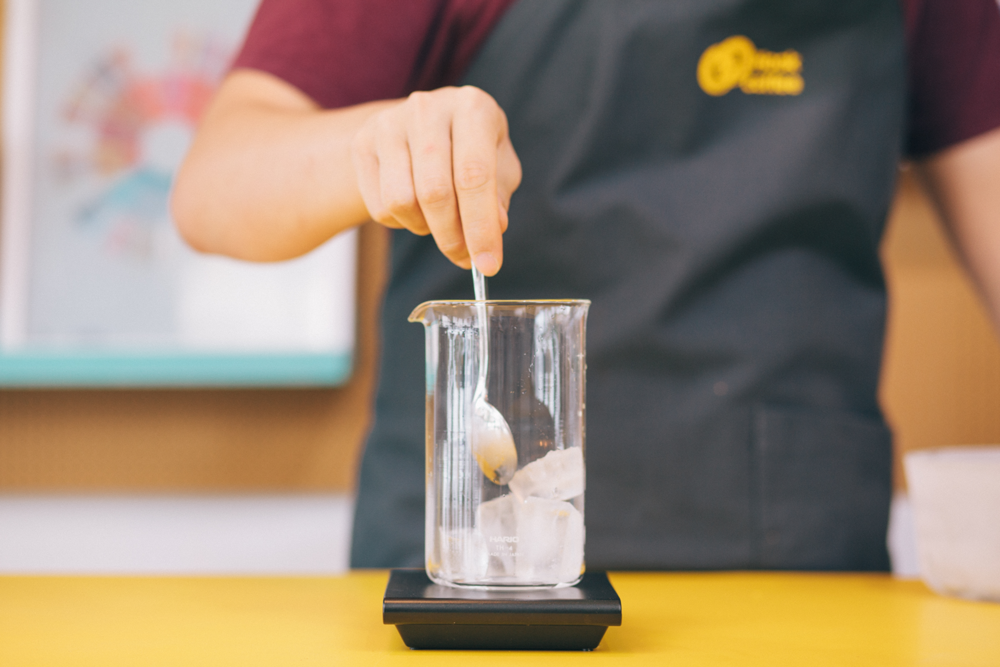
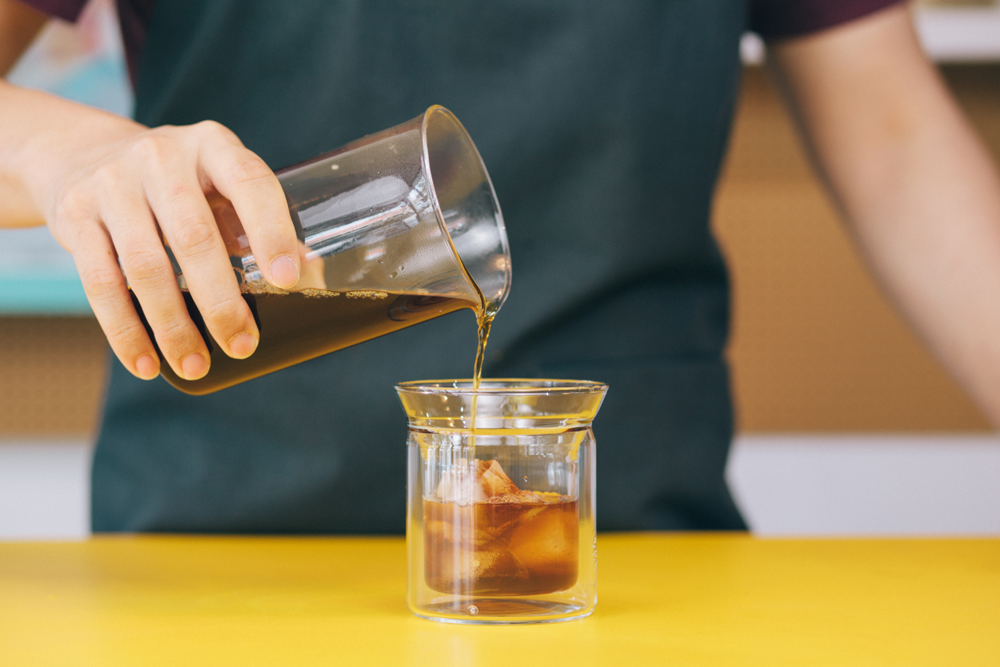
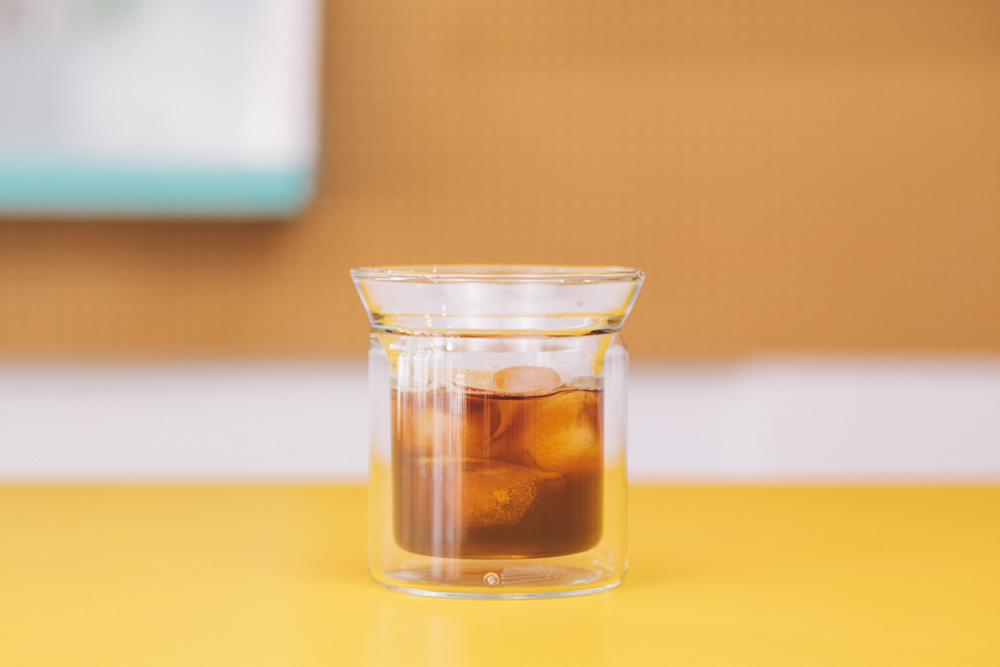
By the end of 3 minutes, you would have completed your brew! If it goes a little over the 3 minute mark, don't sweat it – just be sure to let every bit of water filter through your V60. You'll end up with a vessel of coffee with some ice cubes remaining. Give your vessel a couple of swirls for about 30 seconds. You don't have to melt everything, but bear in mind that those ice cubes are part of your brew water, hence the reason to melt them as much as you can!
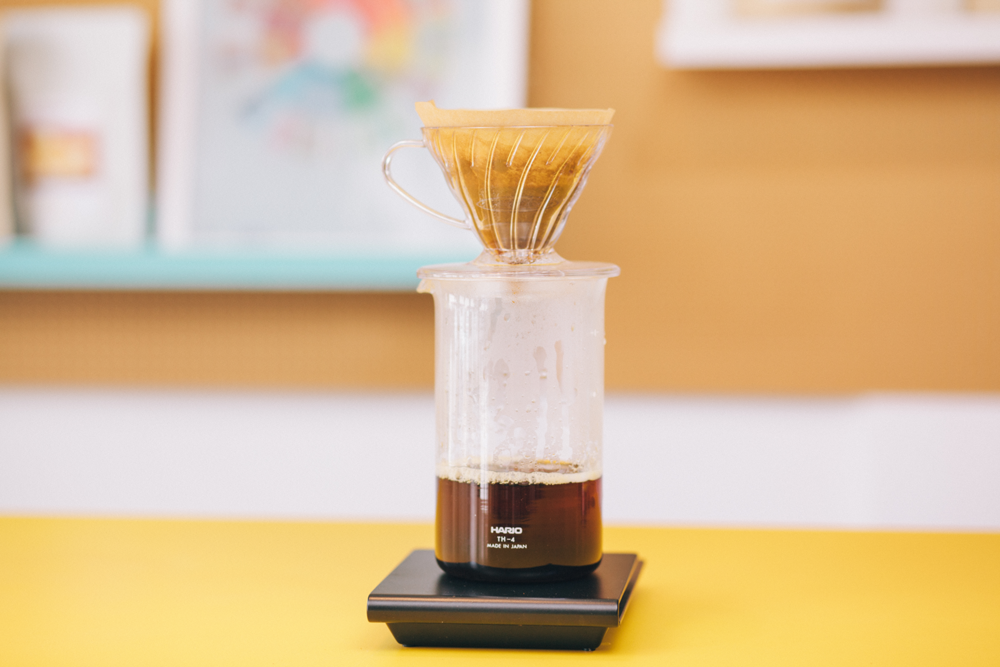
Yas.
Step 5: Serve and Enjoy!
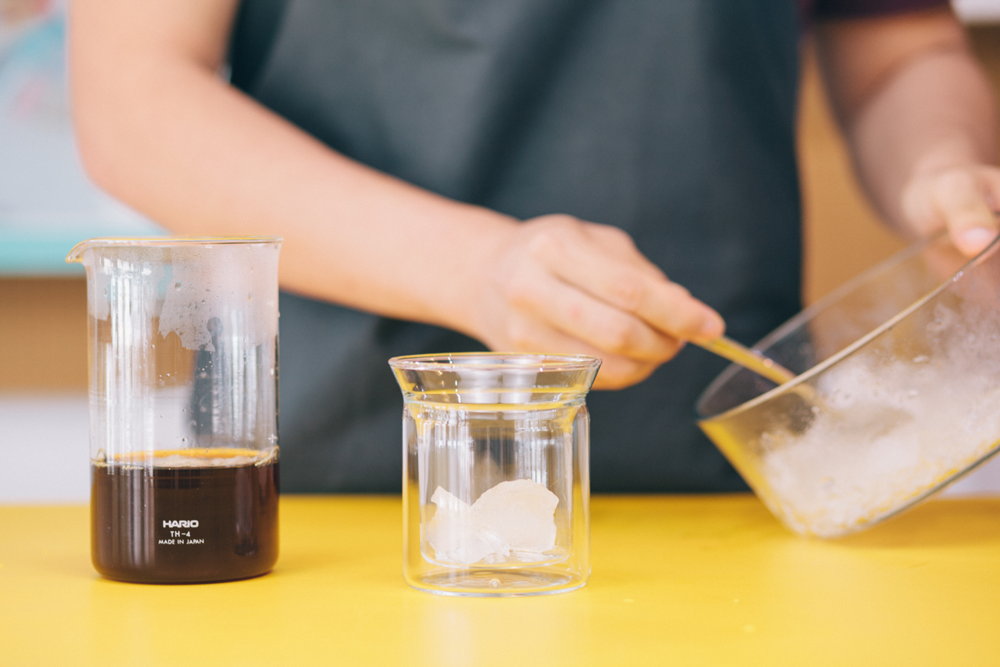
Like, duh. Joke aside, fill a glass with some fresh ice and serve your coffee! What you'll be treating yourself to is a super light, refreshing and sweet-tasting coffee! Everyone knows that pourovers take a little a bit of effort – well, if you tasted this, you'll be able to confidently justify going the extra mile!
More please!
In a Nutshell...
The goal is to have fun and try new things! We understand that coffee is a precious resource, but with ingredients of the highest quality (like our coffee), your room for error is huge, and you'll almost never brew a bad coffee. Be bold – take our coffee to the next level with your creativity! For your reference, and to encapsulate this recipe, the dose to brew water ratio is: 1:15.4 – 1 part coffee to 15.4 parts brew water (divided into ice cubes and hot brew water).
Get Hooked!
Other articles


")
